

sudo apt-get update
sudo apt-get upgrade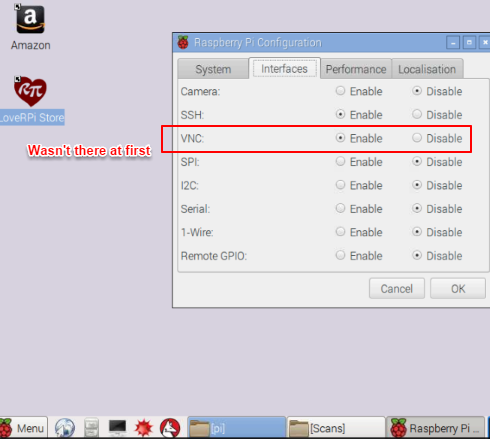
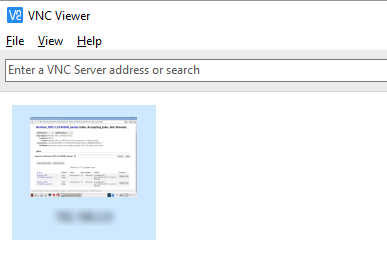
After updating Raspbian, which took a while because it downloaded a lot of updates, after I rebooted the RPi, the above VNC option WAS there for me to enable. Then I just had to download the RealVNC viewer for Windows – https://www.realvnc.com/download/viewer/ – on to my laptop and I was able to connect remotely to the RPi just by using the IP Address in the VNC Viewer address bar.
Setting up CUPS
So next was to get the printer working locally with the RPi. For that I turned to CUPS (Common UNIX Printing System), because that’s what the internet told me to use to set up a Linux system as a print server. CUPS was already installed as part of the pre-loaded software on Raspbian, and I knew it was updated from earlier, so I should have just been able to go to its web interface and configure the printer. Wrong.
To administer CUPS, you point your web browser (on the RPi) to http://localhost:631/ to get the admin screen shown below.
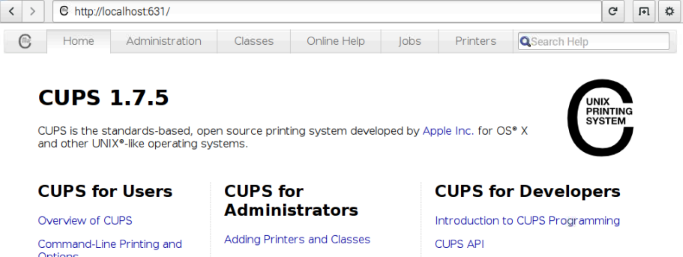
But clicking on “Adding Printers and Classes”, popped up a username/pw screen, which the instructions said to log into with your root user account, but even that yielded: “Unable to add printer: Forbidden”.
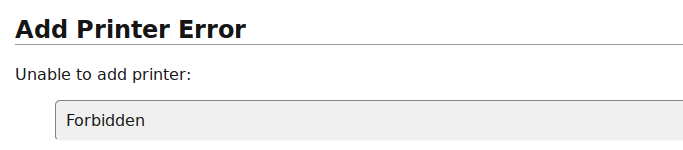
This was a spot where Linux knowledge would probably have helped. Basically the CUPS software creates a user group called lpadmin on the machine, and a user must be a member of it to do anything via the web interface – but it doesn’t automatically add anyone to this group, not even the root user. Though its a different Linux distrobution, I found the Ubuntu CUPS help page helpful https://help.ubuntu.com/lts/serverguide/cups.html
So as instructed in that link, I had to add the root user (in the case of the Rpi, root username Pi) to the lpadmin group.
sudo usermod -aG lpadmin username
NOW I was able to click on Adding Printers and Classes > Add Printer and select my already recognized printer.

You then have to select your make and model of printer to pick the correct driver. The Brother MFC-L2740 was not listed. I was able to find a Debian printer driver for this model on Brother’s support page, and although it installed on Raspbian, it is built for a different architecture and would not print. Many people online seemed to have luck selecting similar model printers, so I gave the Brother MFC-9600 – CUPS+Gutenprint v5.2.10 driver a shot, and amazingly it worked!
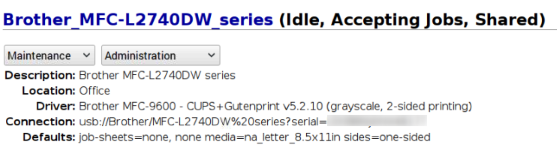
I was able to click the Maintenance drop-down and successfully print a test page.
Adding the Printer to Windows Machines
After getting the printer set up on the RPi, the last thing to do was be able to add the new network printer to our Windows laptops. Viewing the Network tab on Windows did not list the RPi on the network. What I needed to do was allow file and print services to be shared from the RPi to Windows. To do this, I needed to install Samba which is explained simply enough here – http://www.deviceplus.com/how-tos/raspberrypi-guide/raspberrypi_entry_006/
Install Samba:
sudo apt-get install samba
Edit Samba config file with nano text editor to set your Work Group and enable WINS support:
sudo nano /etc/samba/smb.conf

Scroll down through the config file and set the below attributes, then press CTRL+O to “WriteOut” aka Save the changes.
workgroup = your_workgroup_name
wins support = yes
service smbd restart

And within the RPi on the network we can find, and add, our printer!
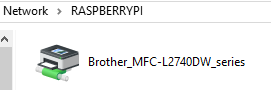
In order to properly add the printer to Windows, the Windows machines should have the necessary printer drivers installed so you can select them when you Right Click > Connect on the printer you want.
Summary
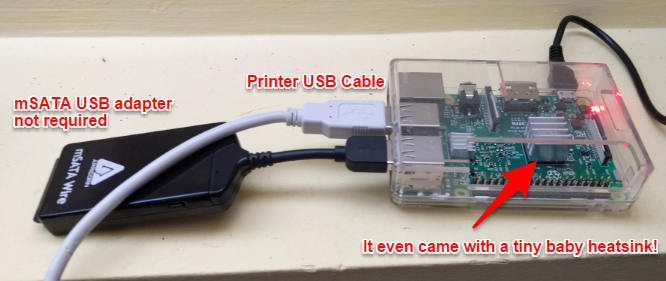
After following the above steps, you should be up and running with a Raspberry Pi print server that you can connect to wirelessly with a Windows machine. With this set up, the printer and the print server should be able to remain on and ready for use while only consuming a very small amount of power. I have not yet tried to set up and use the scanning functions of the multi-function printer, but by now having Samba set up, I should be able to easily share files and folders as well and be able to scan directly to the RPi and access the files from any other machine on the network. Along the same lines, the mSATA adapter pictured above can be used as shared storage via the RPi as a file share.